
These 4-ingredient, No-Bake Peanut Butter Cereal Cups are made with just whole grain cereal, satiating, natural peanut butter, chia seeds and a dollop of honey. They take only a few minutes to prep and keep in the fridge for at least a week, making them a great after-school snack for kids (and parents) or a fast grab-and-go breakfast when you’ve got a bus to catch!
Back-to-school season can be chaotic for everyone, and school days can be long for little ones. If your kids are like mine, everyone comes home a little tired and hangry after a full, action-packed day. To help everyone reset, we usually grab a snack, a sippy cup of milk, and stroll on down to our neighborhood park for a little fresh air and downtime together.
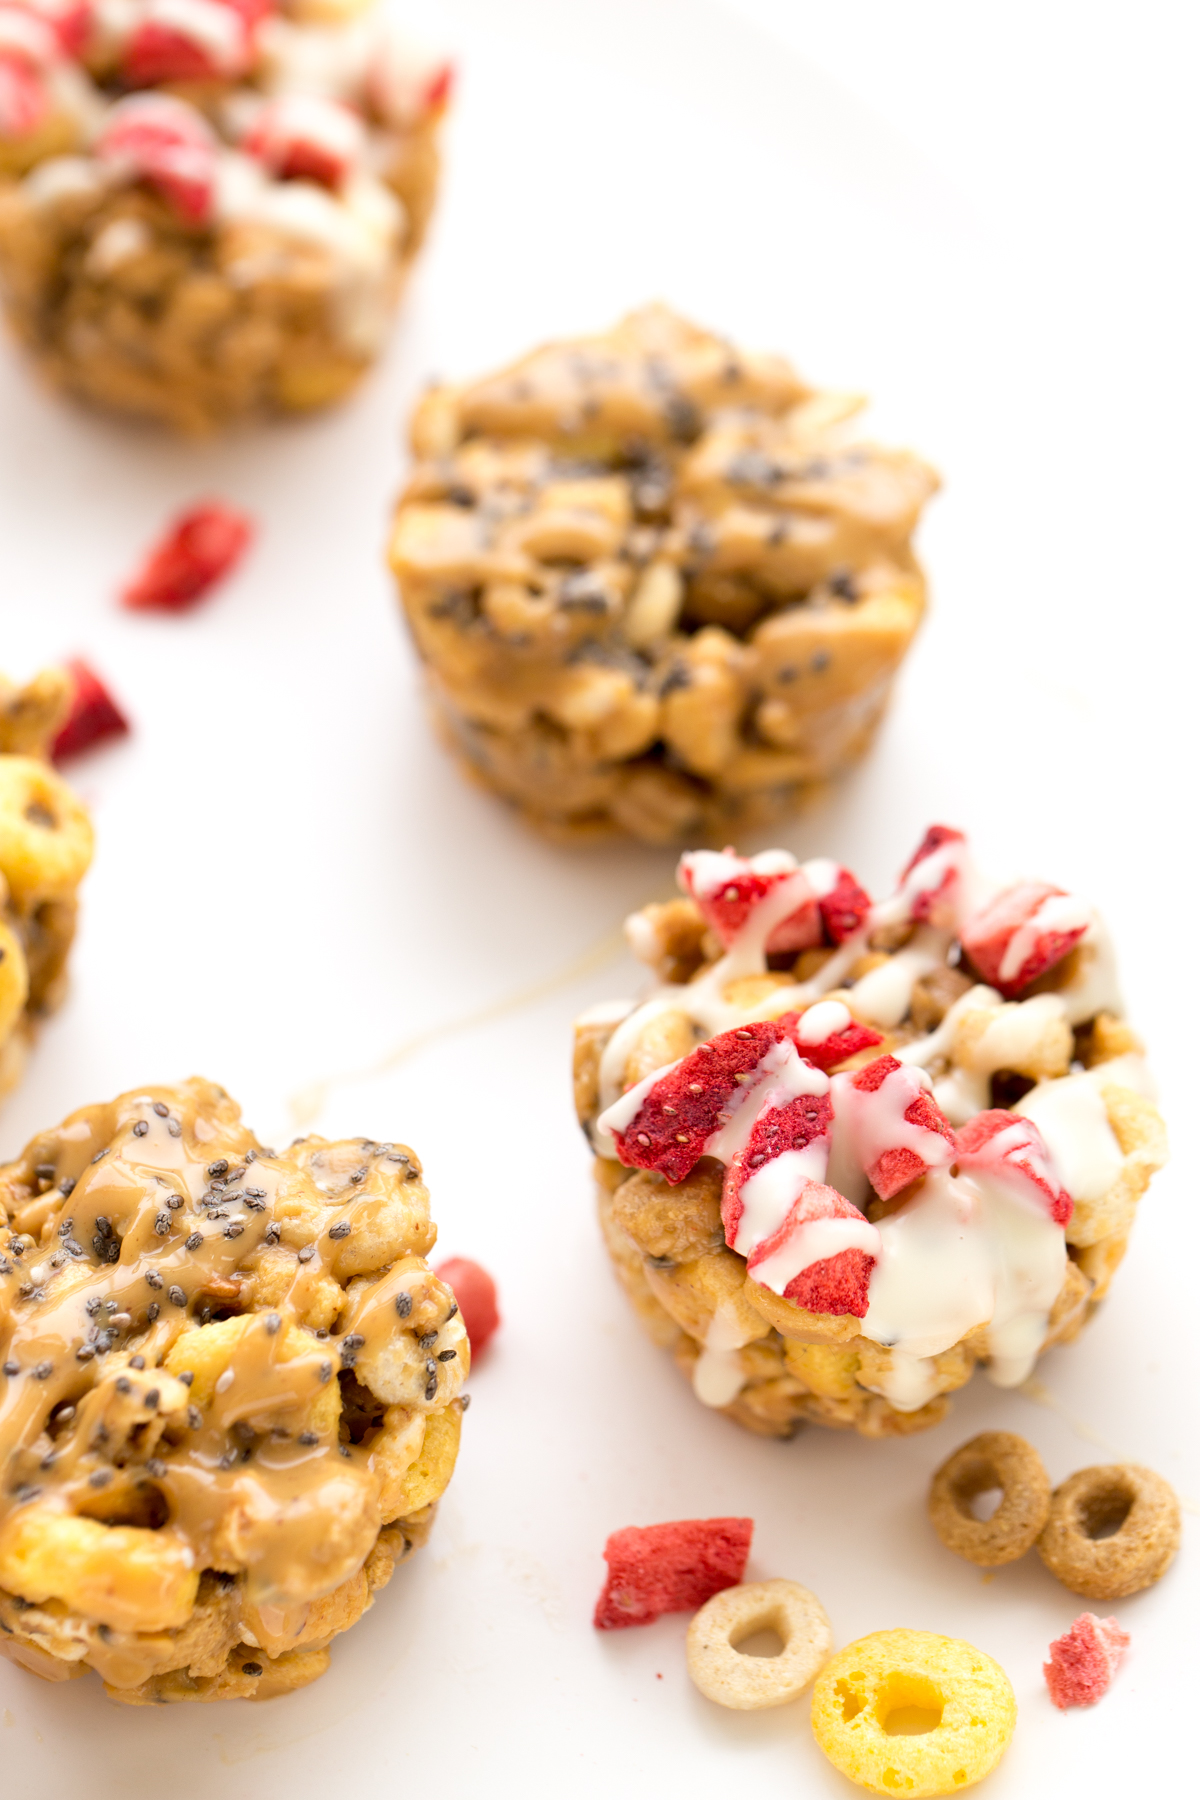
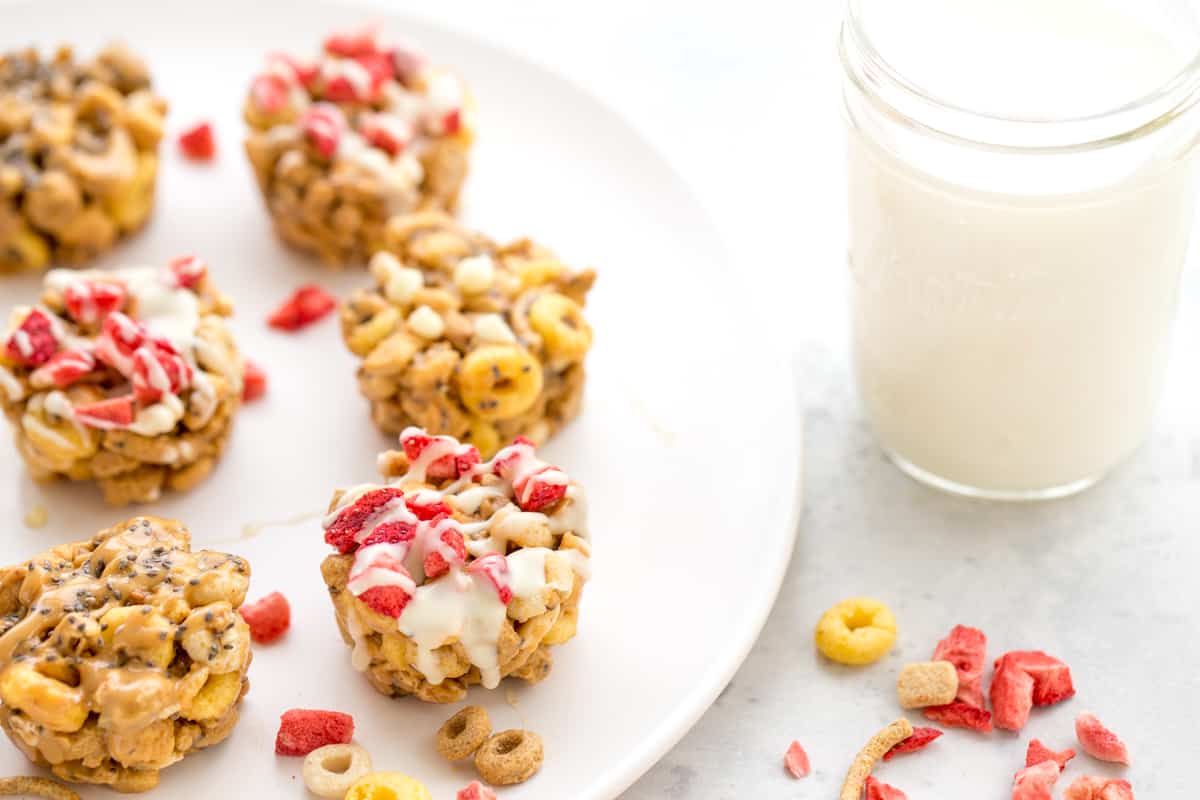
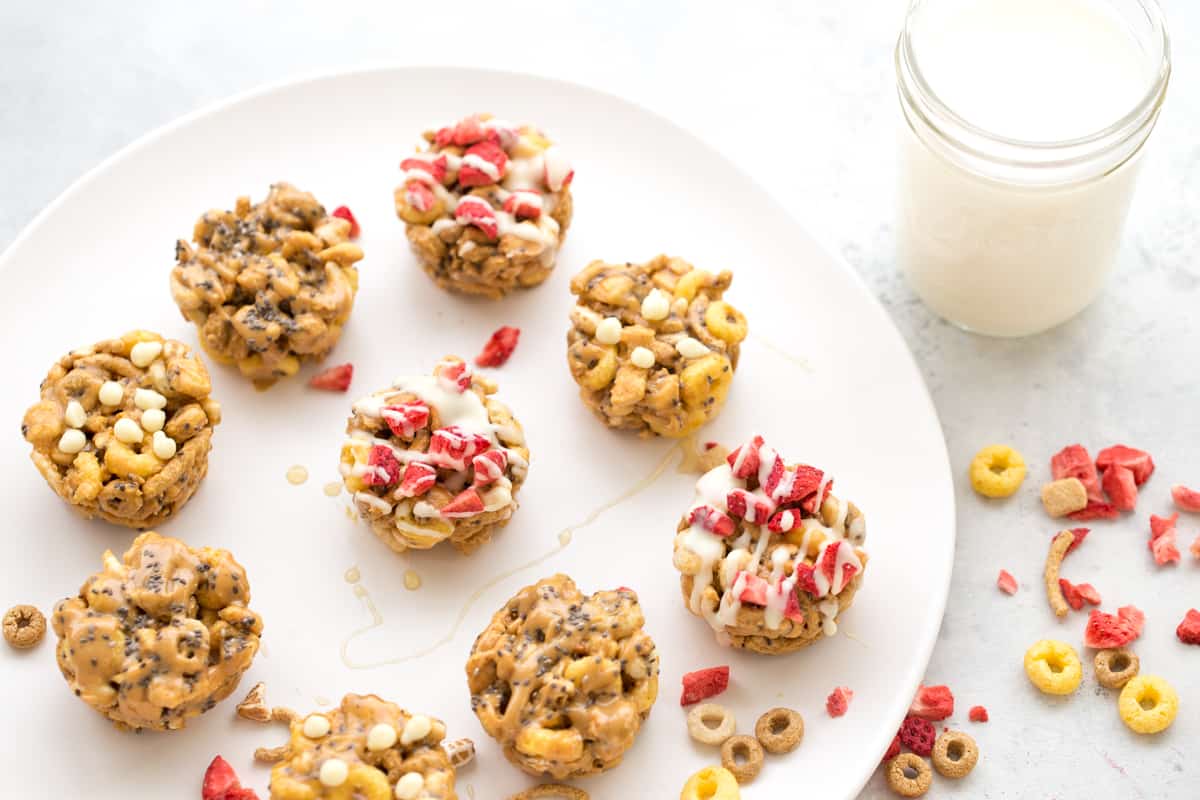
These No-Bake Peanut Butter Cereal Cups —or “cupcakes” as Noah, our 3-year-old, calls them— have been our go-to park snack this summer, myself included. They are seriously so good, and not too sweet in the slightest. Most times I reach into the fridge to take some out for the kids, I can’t resist grabbing one for myself, too!
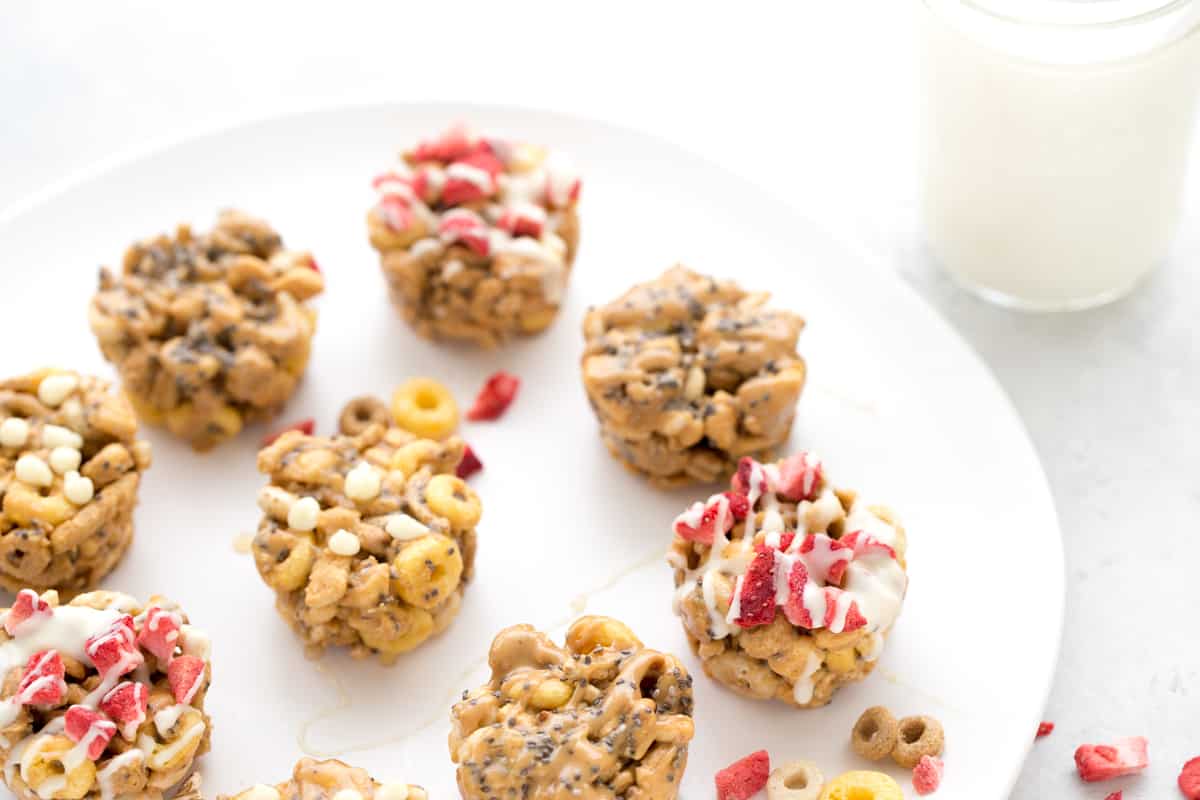
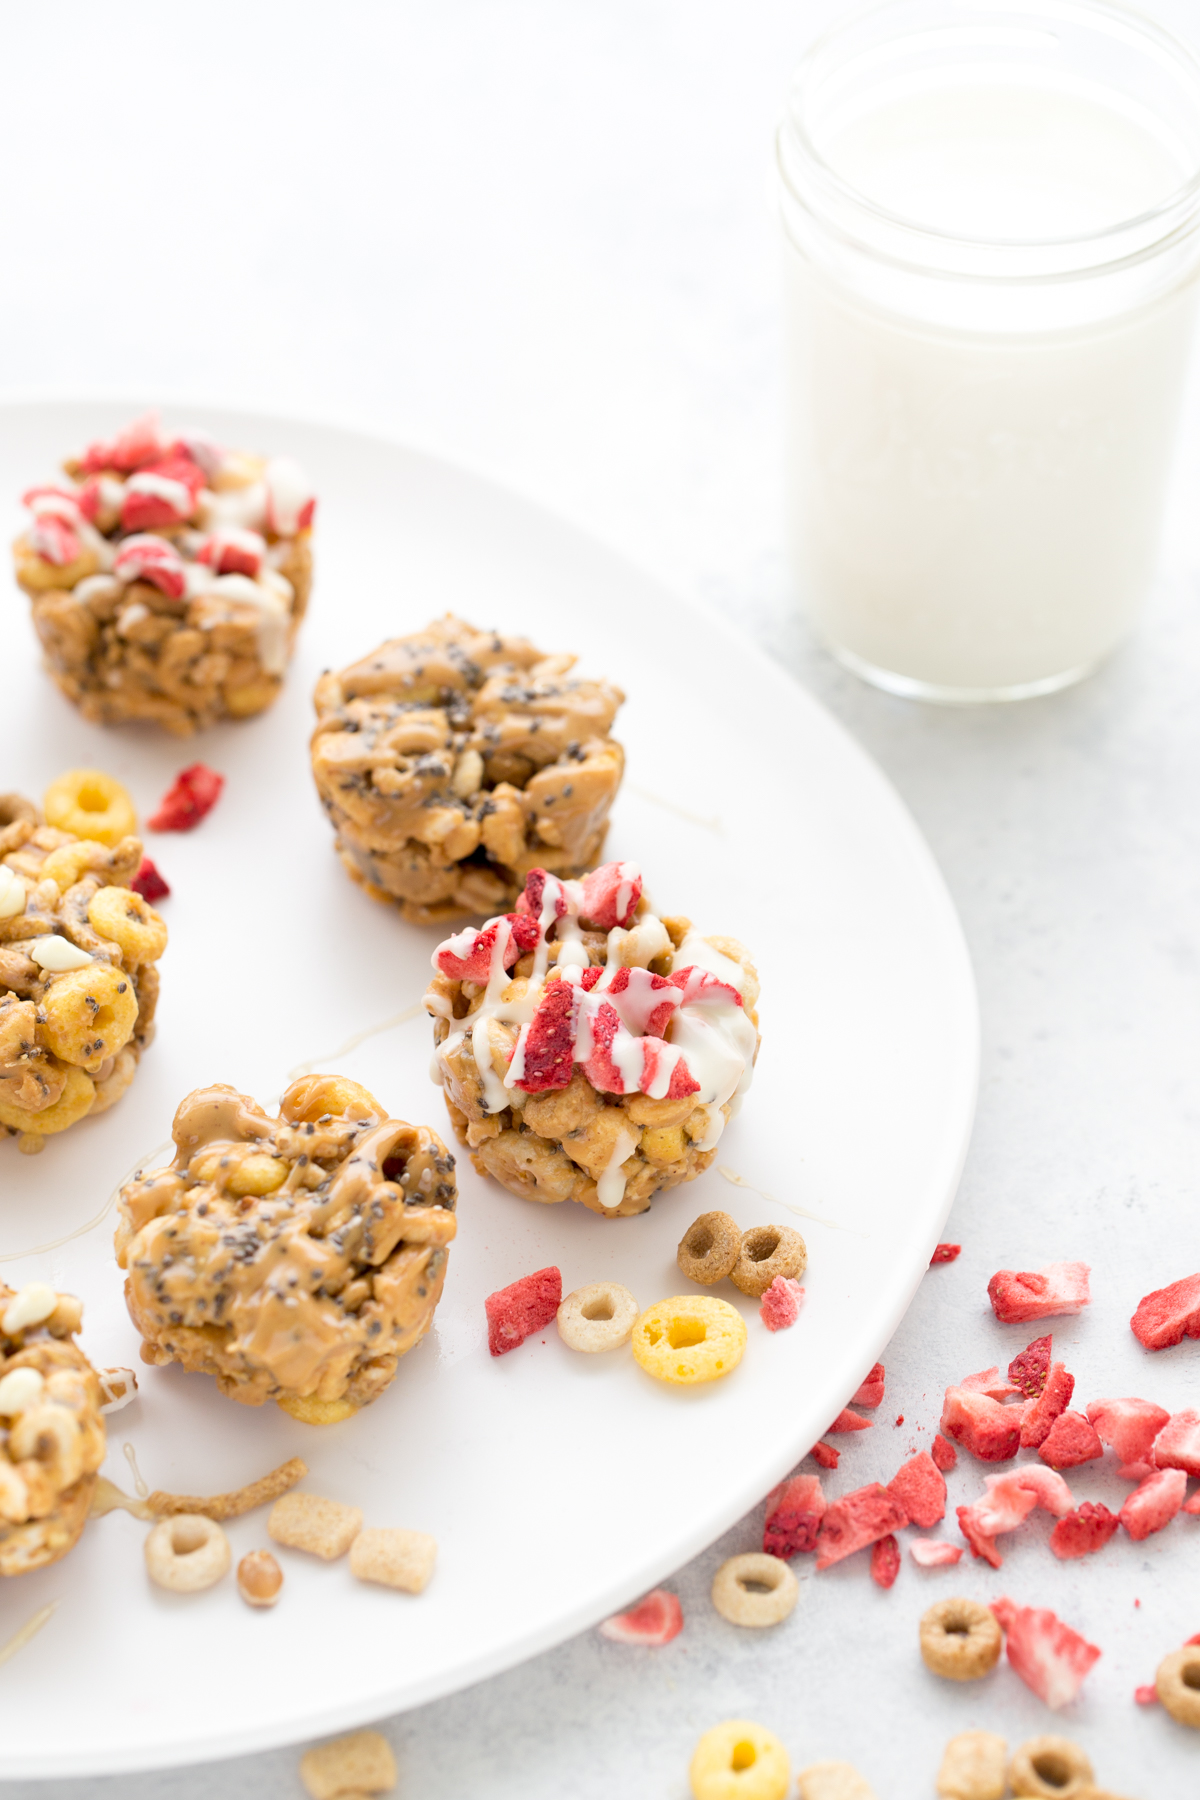
Made with only whole grain cereal, satiating peanut butter, chia seeds and a dollop of honey, they’re perfect paired with a cold glass of milk. Our kiddos love them with milk so we usually fill a couple of spill-proof cups and the kids take their milk to-go. Adding real dairy milk to their on-the-go afternoon snack is an easy and delicious way to give them a boost of protein, quality calories, and essential nutrients that kids tend to be short on, like vitamin D, potassium, and magnesium.
No-Bake Peanut Butter Cereal Cup Recipe Ingredients
Peanut butter: Use a natural peanut butter made from just peanuts, with or without salt. Natural peanut butters are drippy at room temperature, which is ideal for mixing into your cereal and holding everything together. If you’re looking for a peanut butter substitution, you could use any type of drippy nut butter (almond, cashew, sunflower seed butter) but we prefer the taste and texture of peanut butter.
Honey: I tested this recipe several times with various amounts of honey and the final recipe has just enough to help bind everything together without making them too sweet. If you’re looking for a honey substitute, maple syrup, date syrup or brown rice syrup would also work too.
Whole grain cereal: To prevent these treats from getting overly sweet, use a whole grain cereal with 6 grams of sugar or less per 1 cup serving. We used a 50/50 mix of Kashi Go Lean + Whole Foods Multigrain O’s. You can use whatever whole grain cereal you prefer, just keep in mind cereal cups made with smaller cereal will hold together better.
Chia seeds: Chia seeds are a good source of omega-3 fatty acids, fiber, antioxidants, iron, and calcium making them a nutritious addition.
How to Make Cereal Cups
This no-bake peanut butter cereal cup recipe comes together in under 15 minutes (chilling included) and is a great activity to do with your kids. You can use your favorite whole grain cereal — we used a 50/50 mix of Kashi Go Lean and Whole Grain Os.
Here’s how to make them — or keep scrolling for the full recipe below!
- Combine whole grain cereal(s) and chia seeds in a small mixing bowl.
- Combine peanut butter and honey in a microwave-safe bowl and heat in the microwave just until honey begins to bubble, about 15 seconds on high power. Stir to combine the honey and peanut butter and pour it over the cereal-chia mixture. Using a silicone spatula, mix until fully incorporated.
- For mini cereal cups, firmly press two tablespoons of the mixture into a silicone mini-muffin pan (see notes). For larger cereal cups, use ¼ cup of the mixture.
- Top with desired toppings and chill the pan in the freezer for about 10 minutes, or at least 30 minutes in the refrigerator.
- Serve cold and store leftovers in an airtight container in the refrigerator for up to one week.
Tips for Making Peanut Butter Cereal Cups
- Don’t overheat your honey. Doing so will make the honey-peanut butter mixture too thick and sticky. Keep a close eye when warming the honey and remove it from the microwave as soon as it starts to bubble.
- For the easiest removal, use a silicone muffin tray if you have one. If using a standard metal muffin pan, remove them by gently loosening the edges and bottom of each cereal cup with a small, flexible metal spatula.
- Store cereal cups in the fridge to help them keep their shape.
These whole grain cereal cups make a great after-school snack for kids (and parents) of all ages — heck, even a fast grab-and-go breakfast when you’ve got a bus to catch! For us it’s important to provide our little ones with good nutrition —some of that from milk— and these No-Bake Peanut Butter Cereal Cups are perfect when paired with an 8-ounce glass!
Want more snack recipes? Check out what else we’ve got!
Special thanks to Milk Life for sponsoring this delicious post!
This was yummy! There is room to try other cereals, granolas, chocolate chips, trail mix.
My kindergartner will love these! Definitely have to give them a try!!